Blog
The Ultimate Tiny House Building Checklist
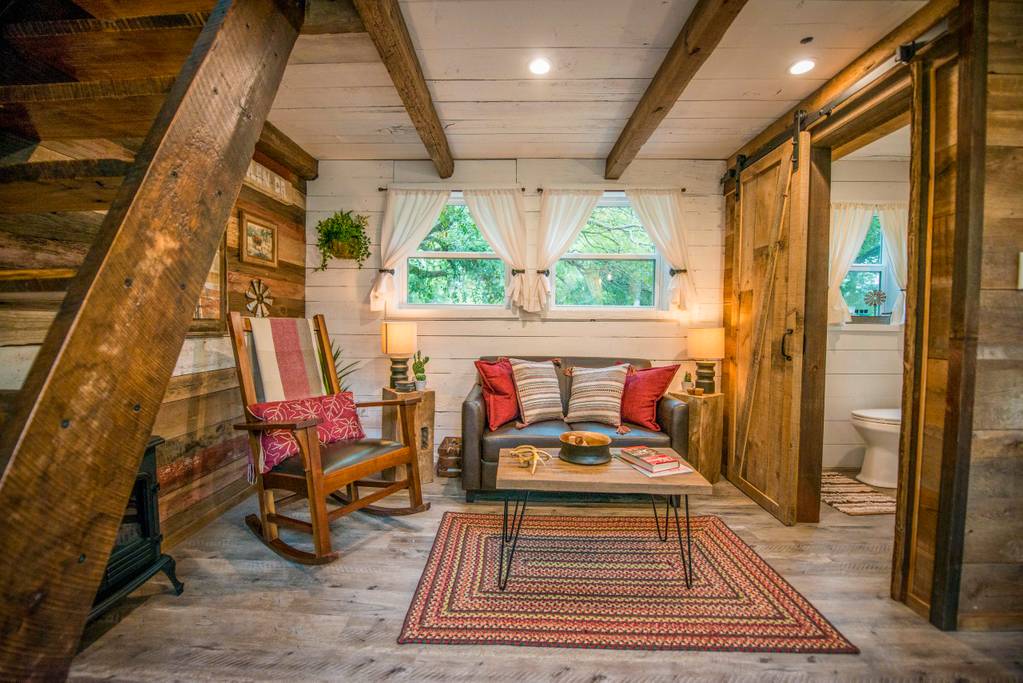
Living in a tiny house has become a phenomenon that is sweeping the nation. People are downsizing their lives to live more minimally and simplify their existence; while also cutting back on expenses.
Aside from being inexpensive, there are plenty of reasons why tiny house living is the best option. It keeps you closer to nature and away from stress.
There’s always something new to discover about life when you’re living tiny, whether learning to adapt to your environment or becoming more self-sufficient.
When you live tiny, everything becomes manageable and gives you time to notice things that we tend to miss out on when we spend our lives rushing through them.
Of course, building a tiny house needs meticulous planning. And if you’re adventurous and handy with tools, you could always design and construct your own custom house from scratch!
All you need to do is create a floor plan, locate a site, apply for a building permit, begin framing the floor, wall, and roof. After framing, install and trim windows and doors. Next is to install plumbing and electrical wiring. And now drywalling and painting. Lastly, flooring installation.
To give you a detailed instruction on how to start building a tiny house, we’ve put together this comprehensive list covering all the major aspects of the construction process.
Step-by-Step Guide to Building a Tiny House
Planning and Designing
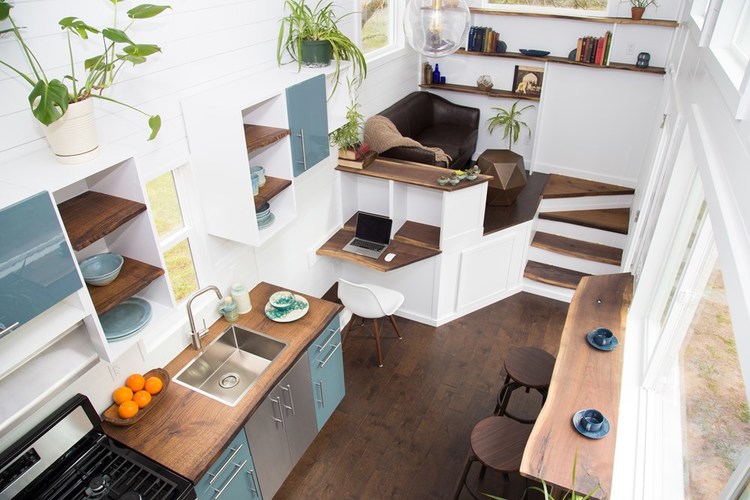
Creating a floor plan is the beginning of the building process. This is where you figure out what your house will look like, how it will function, and the materials you’re going to use.
This is also when you decide on your home design and layout. Will it be an open space for your living room, kitchen, dining area, bathroom? Or will there be separate rooms with different uses?
There are two types of tiny house floor plans: one-room or multi-room. Certain designs may work better for some people, depending on how they plan to use their tiny house.
Great attention to detail should be observed in the planning stage before you even break ground on construction. It may take several sketches and iterations, but this is a vital step in the process.
Find a Location
If you already have a place to build, then this stage is already complete. If not, you must decide on a site that best suits your needs and will be accessible during inclement weather.
The best sites are those where construction vehicles can easily access the site and provide enough room around it for builders to move freely so as not to cause damage to anything surrounding it.
When choosing a site, you also have to consider the effects of solar exposure on your house design. You want enough sun coming into your windows in the winter months, but during summer, too much heat can overwhelm your A/C unit. It may also cause not to function at all due to the extreme temperatures.`
Permitting
Don’t disregard the building code and permit requirements in which you plan to build. A permit is usually required, and obtaining one can take some time.
Look into your local ordinance to find out if you need a permit, what codes will apply, and other requirements. Ensure that you know how the procedures are, and you must follow them correctly.
Building the Floor Frame
To build the floor frame, you need to calculate how much lumber you will need and then purchase that amount of material. It would be best to allow yourself some extra boards if any are ruined or broken during construction.
When calculating how many boards you’ll need, there are two things to consider: the width of your floor joists and the spacing between them. The size of your building will determine the size of the beams you buy.
Once you’re confident that you know how long your floor joists need to be, look at how far apart they are spaced. This gap provides room for insulation, plumbing pipes, wiring, etc., so everything must fit correctly there.
The gap will depend on what type of insulation you plan on using when building the house; if your house is going to have under-floor insulation, you’ll need joists that are very close together. The same goes for if there’s any wiring or piping in the walls.

Wall Framing
Framing your tiny house is like the frame of an unfinished picture frame – it holds everything in place while you build the rest of the structure.
Every part of this frame should line up exactly. Otherwise, things can get wonky pretty quickly when building a house.
When nailing into wall studs, just go down about halfway with the nails, so there’s room for screws later on in the building process. This nothing is going to pull out of the wall; it just needs to hold long enough for you to screw into it.
There are various framing materials you can choose from—steel, wood, and aluminum. Each has unique advantages and a set of purposes.
Steel
Steel framing is the strongest of all framing materials, but it’s also heavy and pretty expensive.
Wood
Wood framing is an excellent option if you’re working on a tight budget because it’s easy to get your hands on (lumber yards are everywhere).
Aluminum
Aluminum framing is the lightest of all three options, but it’s also the most expensive. Aluminum takes well to screws and other fasteners so that you can use standard wood materials with it.
If you’re looking for a less expensive option, wood framing might be your best bet. The most significant consideration when working with wood is expanding and contracting based on weather conditions.
Installing Roof Trusses and Sheathing
After the wall frame is complete, your next step is to install the roof trusses. The roof trusses are the anchor of the building because they hold up the weight of everything above them.
They come in different styles and sizes, so make sure they match your building plans and local building codes.
Attach sheathing to the roof trusses by nailing or screwing them. The sheathing is plywood, oriented strand board (OSB), or other paneling used for flooring and roofs.
After your roof framing and sheathing is applied, cover it with a standing seam metal roof. For the best protection against leaks, you might want to cover it with shingles or roll roofing as well.
Installing Wall Sheathing and Ceilings
To make sure your building is strong enough to handle the weight of the rest of your house, you need to install wall sheathing. Your sheathing can be plywood, oriented strand board (OSB), or a structural insulated panel (SIP).
Don’t forget about installing your ceilings. Cover your ceiling joists with plywood or OSB before the subfloor is installed. You can cover it with drywall after the subfloor is completed if you want a smooth surface.
But most tiny house builders staple fiberglass insulation batts to their ceiling’s framing members.
Windows & Doors Installation and Trimming
When installing windows and doors in your tiny house, you need to think about how they will be insulated.
Some tiny home builders choose not to insulate their window and door assemblies. They rely on the thermal properties of airtightness and insulation in the walls and ceilings to keep them warm enough.
If you decide to insulate your window and door assemblies, you will need to purchase a combination of rigid insulation, spray foam insulation, or sticks.
You can use either closed-cell spray foam or open-cell spray foam to fill the frame from the inside out. This is usually less expensive than rigid insulation that perfectly fits your window or door opening, filling the dead space in the frame with dense cellulose (which many tiny homeowners do anyway).
Also, don’t forget to trim around windows and doors. It is a perfect way to give your house nice edges.
Additionally, make sure to seal off the windows and door, keeping your home resistant to dust, bugs, pollution, and air leakage.
Caulking the small gap between the frame, window or door, and the inside of the frame is your best method.
Get this bestseller sealant caulk product from Amazon.
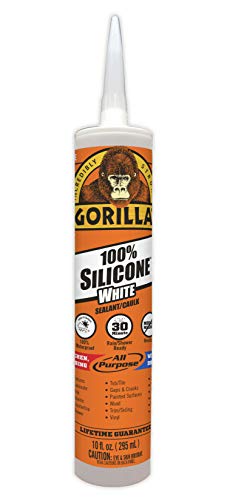
- Incredibly versatile 100% silicone sealant that dries translucent white
- Best for sealing gaps or cracks between two surfaces; Works on window, door, kitchen, bath, gutters, auto, marine and more
- Indoor/outdoor; 100% waterproof
- Wont yellow, shrink or crack
Plumbing and Electrical Wiring
You may be required to hire an electrician to do this process, but if you’re a DIY pro, the electrical and plumbing components in a tiny house are pretty straightforward.
However, there’s no room for error. You can’t make any mistakes or points of damage to the circuit board that will result in your entire house not having electricity.
For plumbing work, you need more than just a bucket and syrup. You’ll need the proper tools for your sewage line, drain lines, and water supply lines.
There are many different types of plumbing systems. Get familiar with what will be required where you’re doing the work, or you may hire an expert to help you through it.
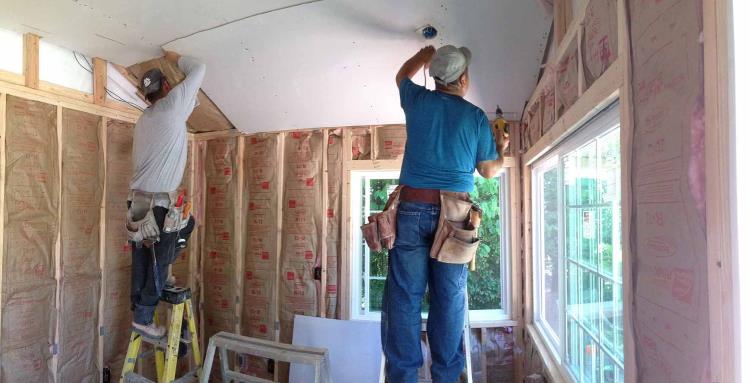
Drywall, Taping, Sanding & Painting
To make your small house feel like a home, you need to install drywall.
Drywall is the material used for the majority of walls in a house. When installed, it provides the wall with insulation and smoothness while covering up the unfinished interior.
To finish the look, it needs taped seams and sanded paint, which requires taping, cutting, and sanding tools.
Painting is also another task that takes skill. It is an art form that can transform your tiny house into something special.
Choose a paint that’s simple yet elegant. Your walls will be a permanent part of your home, so you must pick something that you will not tire of in the near future.
For premium quality paint, check this product on Amazon.

- Use on a variety of interior surfaces like wood, metal, ceramic, canvas and easily distress to create a vintage look
- Low-odor, latex formula allows for easy clean up with soap and water
- Dries to the touch in just 30 minutes and covers up to 150 sq. ft.; one-coat coverage allows projects to be completed easily
- Excellent adhesion and easy application with minimal prep
- Dries to an ultra-matte velvety, smooth fin
Installing Flooring
You are now in the last stretch of the building process. Installing your flooring is easier than you think. As long as you have a good foundation for any flooring, it will work out; there are no rules here!
You can choose from vinyl, wood, laminate, tile, and stone to cover your subflooring. The possibilities are endless.
Make sure it is sealed, so you do not have problems with rot or mold growth down the road. Installing flooring will protect your bottom sheet of plywood from getting wet and rotting.
Important Tips on Building Your Dream Tiny House
- Make sure you walk through the entire house after every step. Make sure nothing is out of place or crooked.
- Consider your budget and don’t allow skimping on things to take away from your home’s overall quality and look.
- When buying appliances for your tiny home, make sure they fit through your doors and windows. Don’t buy bulky items since tiny house living limits space.
- Think about the best way to set up your home and make it comfortable and pleasant.
- Add storage space wherever you can! If living in a tiny house, storage is vital for function and looking great.
Some Final Words
Building a tiny house is exciting and can be a challenge. It’s also totally worth it when you’re able to live in the home of your dreams on your own terms. Remember that you are building more than just a house, but creating an entire lifestyle for yourself!