Blog
How To Wire A Tiny House For Solar Power
Are you aware that Americans who love to live in tiny houses are more than half of the population? And a common concern for them is how to properly wire their homes.
The most effective solution to power a small home is with generators, normal electricity and solar panels. Electricity transmission has to be safe at all times to power your necessities, which is why non-metallic wire may be utilized (used in modern houses). But, before jumping into the task, you should have assessed your electrical demands with a schematic.
So, how will you wire a tiny house for solar power? First, you need to have these four important things. The solar panel, charger controller, inverter, and batteries. Then connect them to the house system by following the important manufacturers’ instructions.
Because an ideal home must balance design, function, and freedom to flourish on a larger scale, we will provide crucial step-by-step instructions for how to wire your small house in this post. So, let’s start learning tons of useful knowledge which will be critical to your home’s electricity success.
Let’s first understand what NEC is before going through the step-by-step guide for wiring your home.
The National Electric Code
You must have heard about NEC since it is crucial for your little house wiring to keep your tiny house a secure and relaxed place to live.
It is a comprehensive set of final recommendations for the secure and safe installation of commercial, industrial and residential electrical wiring in the United States. The Code was published in 1897 and is typically revised every three years. Each regulation in the codebook provides the utmost protection for those who live in the area.
Thus, when you’re wondering “what is necessary to wire your tiny house,” this guide offers all you need. In addition, using particular safety rules leads to fewer injuries and death associated with electrical work.
So, if you want to set the wiring effectively by yourself, you’ll have to read this precise codebook and thus save money by contacting an expert.
Understand what you need
Understanding your home’s power system is crucial for anybody interested in doing DIY modifications, repairs, and installations within the house. Many home repair tasks need electrical work. Learning and comprehending your house’s electrical system and how it works will make the task easier and safer for you.
Use the NEC code as your guide.
Numerous techniques and formulas are provided in the NEC for estimating the planned power “load” for either a house or building.
A list of your electrical equipment
A list of electrically powered appliances, water heating systems, all your electric functional appliances.
Appliance power load documentation
The electricity use of the different units is described on the list, like whether the equipment or systems must be regarded at full capacity (with daily operational time).
A value is entered for every appliance that indicates the current and voltage requirements of the respective equipment. These are added together using what are defined as operational parameters or demand estimations.
Creating a Circuit
The majority of the United States is powered by 120 volts and 60 cycle electricity charges in residences and residential structures, whether condos or apartments. All of this being said, your home’s electricity options are likely restricted to what the town’s electrical provider company has supplied above on posts or the grounds next to your residence.
Thus, before you can sufficiently power a small home, you must first perform some preliminary calculations to establish the circuit size that you should install. Understand that 120V is the ideal source for developing a power system for a small home with basic appliances.
The Sq. Ft. of created space is calculated by taking measurements around the perimeter of the tiny house. Then, watts/foot meter variables are established and added to the calculation and multiplied to obtain a load capacity for overall lighting and electrical outlet demands based on the utilization of the different spots.
- Assume you have a 10-meter-by-10-meter house.
- For feet conversion, double the figure by 3.28.
- If (10m×10m = 100sq.m), then (100) x 3.28×3.28 is equal to 1075.8 sq. ft.)
- Now, calculate the total energy usage (watts) for the house.
- Assume the lighting within the cabin is provided by 25, 70 watts, and 20, 50-watt bulbs, for a total of (30×75) + (8×100) is equal to 2,750 watts.
- Compute watts every sqft. The watts through the occupied space should be divided: wattage/space is equal to 2750/1075.8 = 2.55 watts per sq. ft.
- As a result, the total wattage would be 2,750 watts.
- Therefore, 2750/120 is equal to 22.91-amperes when converted.

Calculate the appliance load.
Assume you own basic appliances, including a little waffle maker, an electric kettle, and a toaster with the following load:
- The toaster will draw 8.75 amps at 1050 watts per 120 volts.
- Next, it would be 12.5 amps for the kettle, as it is 1500 watts per 120 volts.
- Finally, it would be 2.9 Amps for the waffle maker, as it is 350 watts per 120 volts.
- A total load of appliances equals 24.15-amperes
These two amounts are then combined to get the overall load. Depending on this figure, the expert must calculate the size of the electricity supply, plus an extra 10% for future service extension.
- When the needed load (appliances + lighting load) is added together, the result is 47.06.
- The future growth factor (10%) is equal to 4.70.
- The ultimately needed load is equal to 47.06 + 4.70, which equals 51.75 Amperes.
Choosing the right power supply cable
Now that you’ve determined your load, it’s important to select the best power supply cable to power your little home.
- You have the option of selecting a 50-ampere receptacle.
- Find a 30-ampere RV power cable.
- You are now ready to power up your home using the panel.
Powering your tiny house
After establishing your electrical system and connecting points, all wires are linked to a metered outlet, which houses all electricity meters. The meter records every bit of electricity used in your house.
The cables are then routed from your meter to the main distribution circuit or breakers. This breaker then divides into multiple circuits that supply electricity to lights, outlets, and home appliances.
The number of your home’s breakers would be determined by the kind of electrical breaker panel and the amperage of the service.
The entire house power system is then connected by running a ground wire along a metal pipe and burying ground rods from outside the home.
It is a vital part of the system.
In the event of a short circuit, the ground system helps divert excess electricity to the ground, safeguarding both your house power system and yourself.
Safety reminder:
- When operating with the electrical boxes, ensure that all cables and equipment in the boxes are powerless. Utilize a voltage tester to ensure that the electricity to every switch is powerless.
- Turn off the circuit breaker so that others are aware that you will be working on the house power system.
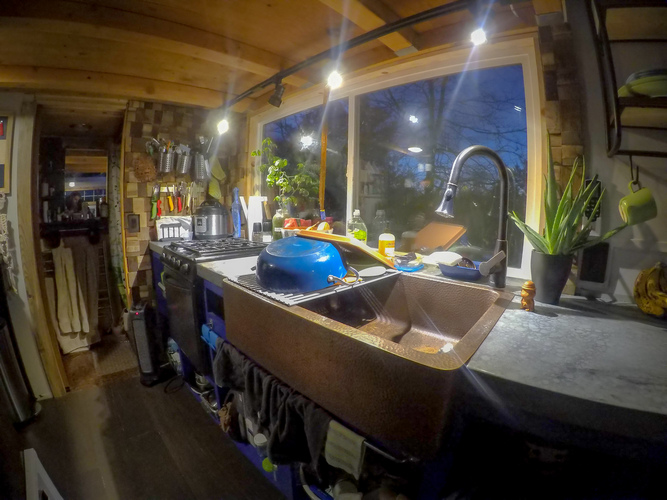
Now, let’s go into installing your solar panel
If you’ve opted to use solar panels as your little home’s source of electricity, you’ll need a few more items to put up an effective power supply. Installing solar panels for your house, for example, may help you save money and be the wisest choice ever.
You will also require the following extra equipment:
- A solar panel
- Charger Control Unit (CCU)
- A power inverter
- Batteries
Let us now go over each one independently:
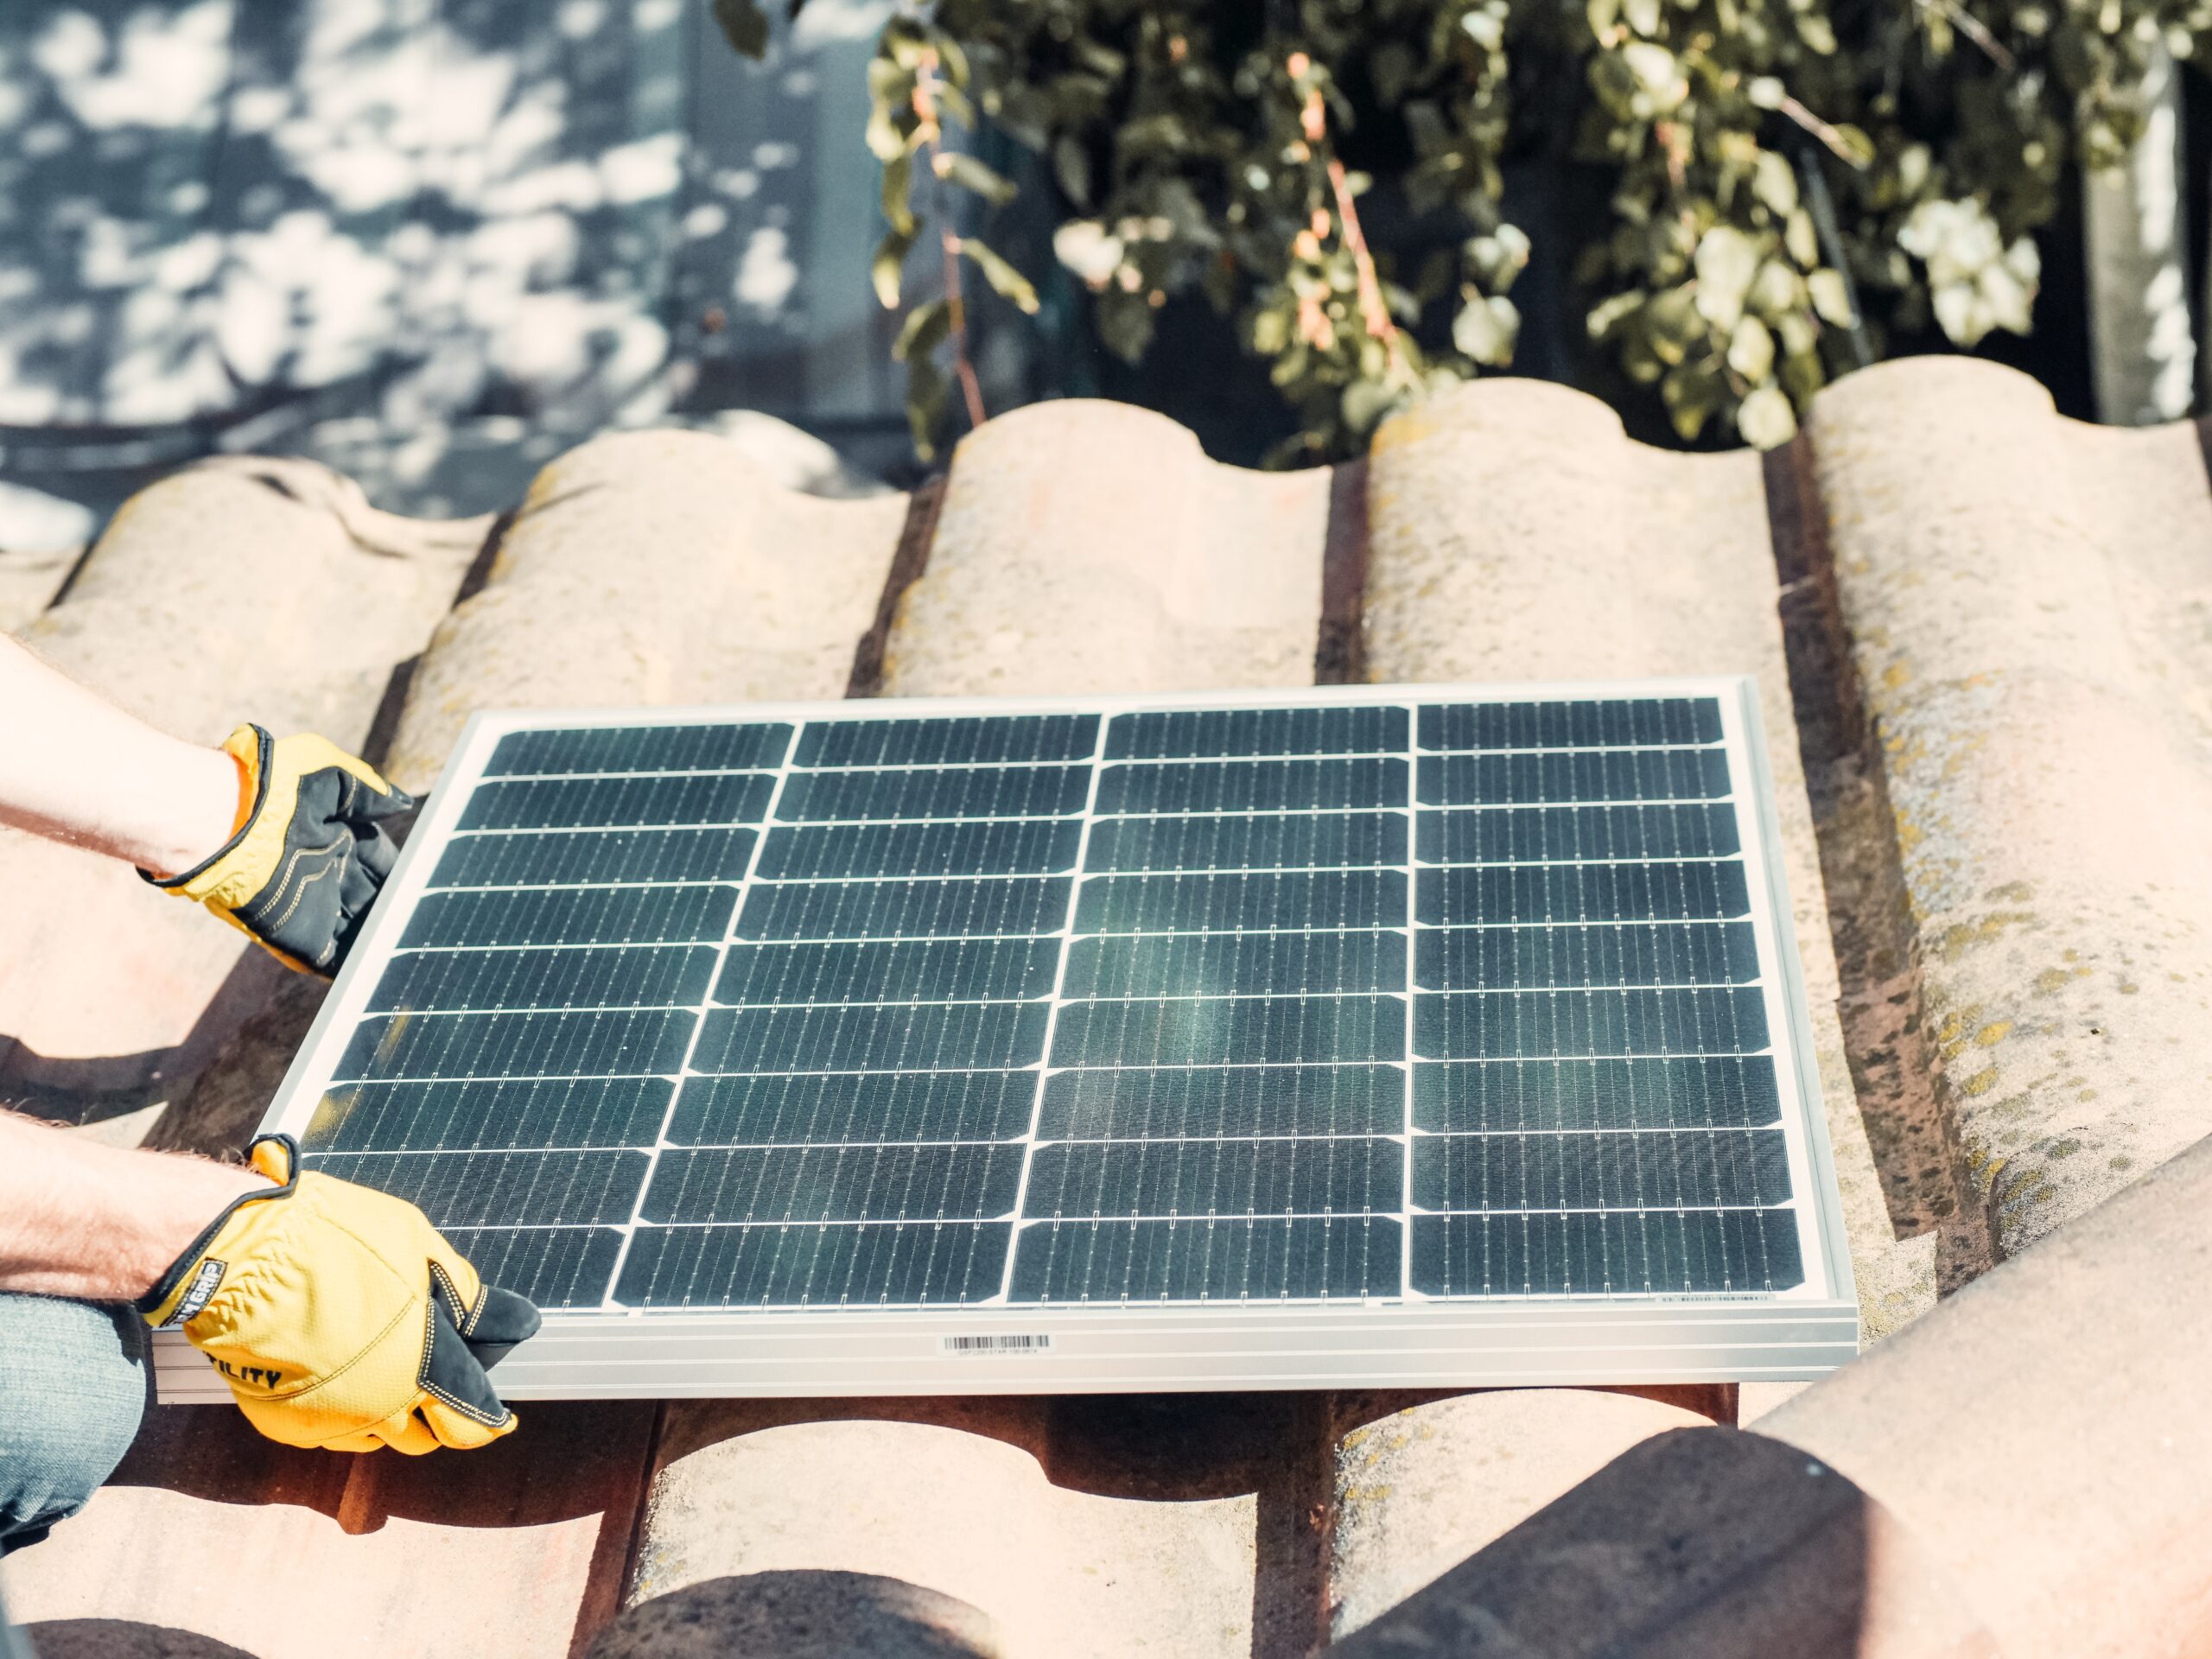
Solar panel
Solar panels aid in the conversion of sunlight into immediate current power. It is critical to select a solar panel type capable of fully charging your battery throughout the day. Therefore, here are all the procedures you must take to determine the total number of panels:
- Your necessary power equals 2,750 watts.
- Divide the wattage by 12 hours equals 2,750/12 equals 229.16 230 Watts
- To recharge your battery, you’ll need to have a 230-watts panel.
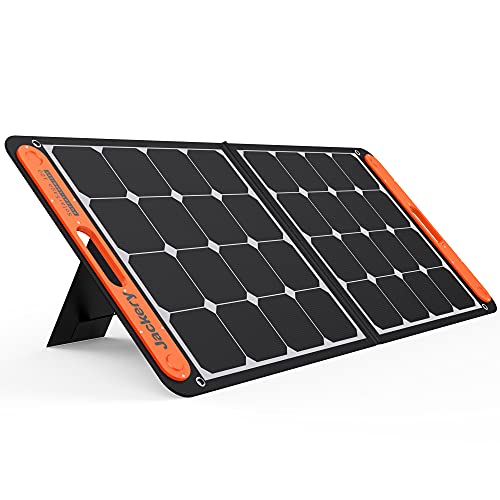
- EASY SETUP & KICKSTAND INCLUDED: The Solar Saga 100 features 2 kickstands that can be placed firmly on any surface ground. With just a few seconds of setup, you can start soaking energy from the sun for your Jackery power station. The TPE rubber handle allows you to carry around easily when taking off-grid adventures.
- HIGHER ENERGY CONVERSION RATE: Covered by monocrystalline silicon solar cells, the solar panel adopts multi-layered cell technology to generate energy from the sunlight and perform better with higher conversion efficiency that up to 23% than other conventional panels.
- DURABLE & SPLASH-PROOF: The ETFE-laminated case is durable enough to extend the lifespan of the solar panel. It is IP65 water-resistant that will protect from water splashing (Do not place it under the rain, or to soak in water). The zippers on the pocket can hold the power cords, and cover the power port.
- COMPATIBLE & VERSATILE: This solar panel is compatible with Jackery Explorer 300/500/1000/1500 power station (sold separately), ideal for off-grid camping and unexpected power outage. Solar Saga 100 features 1* USB-C(5V,3A) output port and 1* USB-A(5V, 2.4A) output port to charge 2 small devices directly.
- WHAT YOU GET: 1*Jackery SolarSaga 100 Solar Panel.
Charger controller
A charger controller is another crucial component to consider when putting together a solar system. This smart gadget, situated between batteries and solar panels, controls the current flowing from the solar energy and avoids overcharging.
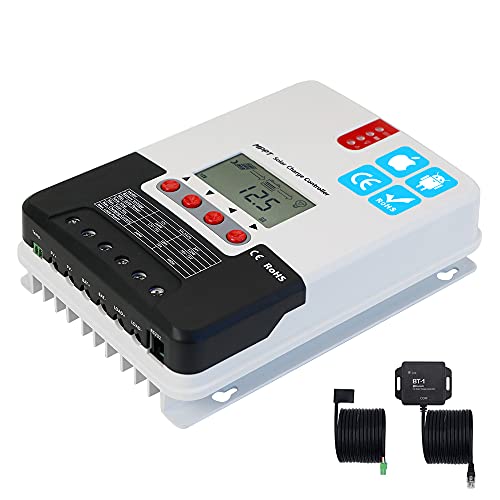
- This mppt solar charge controller 60 amp with tracking efficiency no less than 99.9% and 12V/ 24V/ 36V/ 48V auto identifying system voltage. 4-stage charging (Bulk, Boost, Float, and Equalization) maximizing get more energy from solar panels into your battery. Real-time energy recording and statistical with Multiple load control modes. Charging data with storage of up to 1 year. Charge controller ports: 2 AWG.
- Solar charge controller:Max Input Current: 60 amp; Max input Voltage: 150V; Max Input Solar Power: 800W(12V); 1600W(24V); 2400W(36V); 3200W(48V); Auto control system to limit the charging power & current go over the rated value. TROUBLESHOOTING function ( fault LED indicator) tell you how to solve problem.
- This charge controller work with Bluetooth module, which can pair with Android and iPhone to real-time monitor solar panels/ battery/ loads states and display the daily power generation curve and battery voltage curve. one key to restore factory default and parameter setting function. It also provides last 1 year data logging: discharge and charge energy.
- This mppt charge controller compatible with various Deep Cycle battery options: Lithium, Sealed, Gel, Flooded battery. Temperature compensation process and Die-cast aluminum design has been optimized for long battery life and improved system performance.
- Multiple protection against overcharge, over discharge, over load, short circuit, reverse polarity, over heat and battery under voltage, TVS lighting protection. This kits including: 1 60A mppt controller + 1 bluetooth module + 1 temperature sens
Inverter
As previously stated, the solar turns sunlight into direct current. The power is then transformed into alternating current using a tool known as an inverter. It is the energy that enters your home to securely power your appliances.

- 【POWERFUL DC-AC】2000W continuous, 4000W peak surge during load start-up, 12V to 120VAC pure sine wave with conversion efficiency >90%, reduces conversion loss.
- 【SAFE FOR USE】LED indicators for under-voltage and over-voltage protection, over-temperature protection, over-load protection, and short circuit indication. Cooling funs and ground-fault circuit interrupter (GFCI) protection.
- 【PROTECT YOUR ELECTRONICS】Advanced pure sine wave technology provides quality AC equivalent to grid power which will protect and extend the life of your electronics and appliances. With its quiet and high inductive loads, there are no strange buzzing sounds when your electronics are turned on and allow them to run smoother, cooler, and quieter.
- 【EASY-TO-USE】 Offers a built-in 5V/2.1A USB port, 3 AC Outlets and 1 AC Terminal Block, along with two 3tf 4AWG Cables and a 19.8ft Wired Remote.
- 【RELIABLE QUALITY】Etl certified product ensures safety and quality. 1-Year material and workmanship warra
Batteries
You can only generate direct current with solar panels during the day. Therefore, if you would like to power the appliances in the evening, all you need is a backup source of energy, which we call batteries.
These batteries address your dilemma by storing the energy throughout the day using solar energy and then supplying that energy stored without interruption at night. And will provide a steady, dependable supply of electricity.
You may use solar panels to power your small home in this manner.
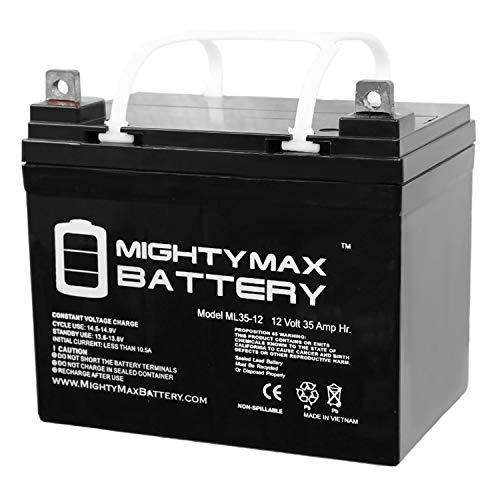
- ML35-12 SLA is a 12V 35AH Sealed Lead Acid (SLA) rechargeable maintenance free battery.
- Dimensions: 7.76 inches x 5.12 inches x 7.01 inches. Listing is for the Battery and Screws only. No wire harness or mounting accessories included.
- SLA / AGM spill proof battery has a characteristic of high discharge rate, wide operating temperatures, long service life and deep discharge recover.
- Rechargeable battery that can be mounted in any position, resists shocks and vibration. Long lasting high performance in high and low temperatures.
- Backed by a 30 day refund policy and full 1 year warran
Putting everything together
There is a certain order in which you should connect the various components of the solar system.
Ensure that all disconnect switches are switched to the “off” status as you connect the system.
First and foremost, don’t ever connect the solar panels to the charge controller while connected to your battery system.
Your solar panels will be the final thing you connect to a system that is otherwise complete. If you connect the panel towards the charge controller, you risk burning out all the system or, in severe situations, causing it to explode.
When the batteries are connected towards the charge controller, they must switch on and run through certain settings.
Arranged the inverter according to the assembly specifications, then plugged it into the batteries.
Then it is the only time you can connect the panels towards your charge controller.
Conclusion
I hope that everything you need to know about how to wire a tiny house has been addressed in this post. So, whether you want to use a solar panel or conventional energy, there will be no problem as long as you follow the guidelines outlined in the codebook of NEC.